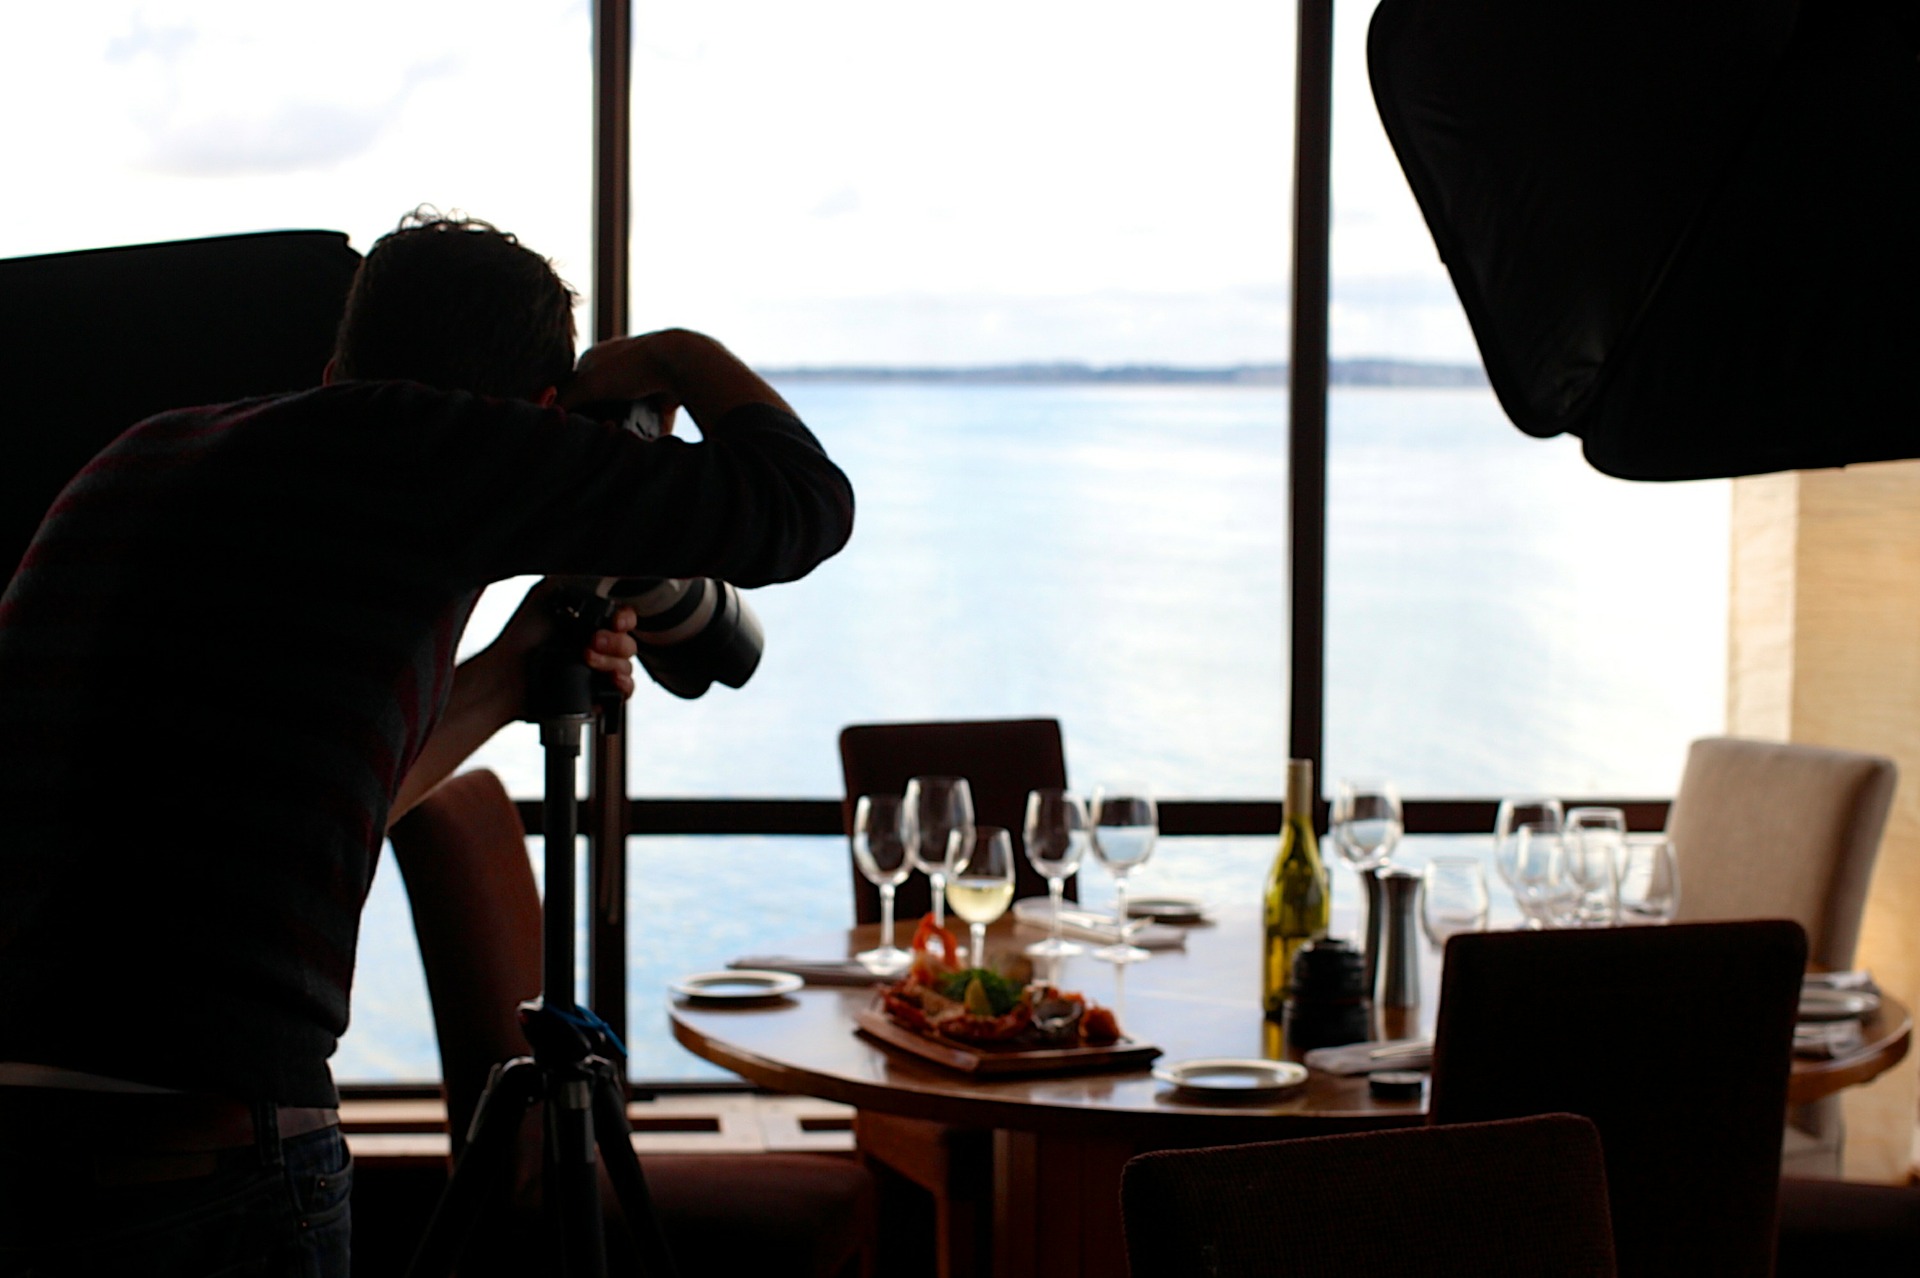
For food blogs, interesting visual images are one of the most important tools for engaging visitors and also attracting traffic through social media platforms such as Facebook, Twitter, Instagram & Pinterest. Photography is an art in itself, which we will leave for later deliberation. You can use a digital camera or your smartphone to click great images. Here, we will focus on how to edit and optimize images for food blog websites.

Click Lots of Images
When preparing images for your food blog recipes or just any other post, try to click lots of images. If you are preparing any recipe, try to click images of ingredients in market or in your kitchen and capture images of the different stages of cooking the recipe. Once your dish is ready, garnish it and make it presentable.
Add some interesting backdrop as well. However, the background should not overwhelm the main subject of the photos.
Compose your images with care. Spend some time experimenting with different image compositions. Make sure that you click multiple photos and also try to capture the subject (food or ingredients) with a tight close-up shots where the subject of the photo occupies a majority of the screen. Close-up images generally serve as the best shots for food photography.
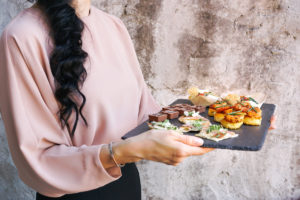
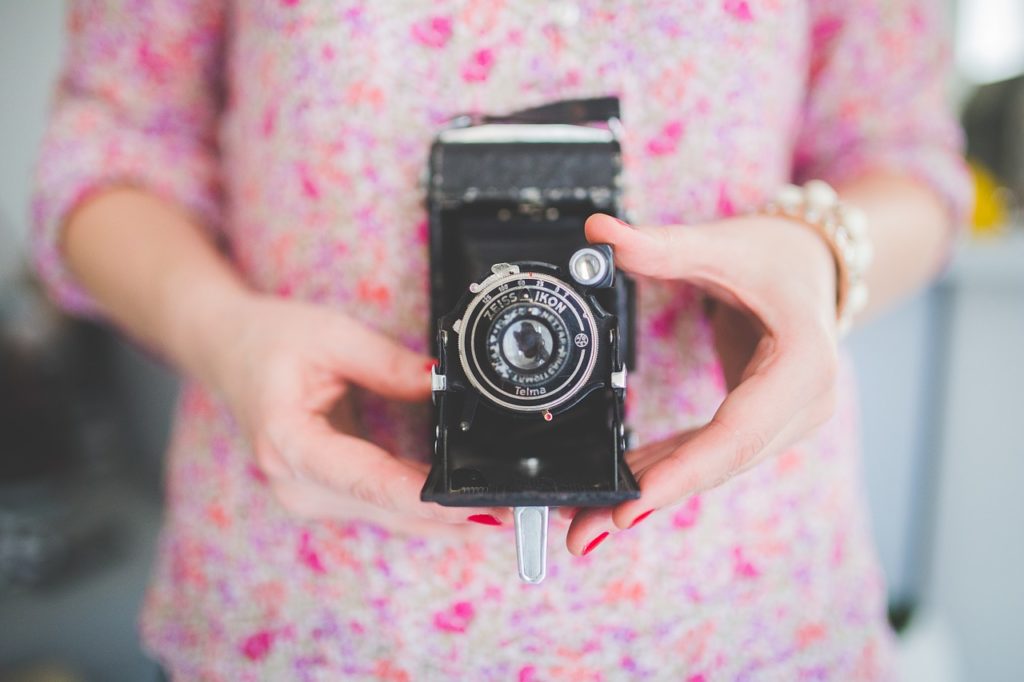
Note: Add a personal touch by occasionally including yourself (or just your hands) at work in your food photos. It will make readers connect with your more easily compared to impersonal object images.
Photo Editing Tools
Most popular photo editing tool is Photoshop. However, you need not spend a bomb getting a copy of the software. Use free alternatives such as Gimp Image Manipulation Tool instead to save cost. It is available of Windows, Linux as well as Apple Mac.
You can also use online photo editing tools such as Pixlr.com and PicMonkey.com. These should help you with all the basic image editing that you need for editing your images for a blog website.
Editing Your Food Photos
Once you have the photos, transfer them to your computer. Let’s get going now.
Image Size: Keep the image at the minimum by resizing your images to, say, 1600px width. Why waste your bandwidth uploading 4000px image when a 1600px image gives the same result.
Image File Size: Use JPEG image file type for websites as these are relatively smaller file size. Keep the image quality between 80% and 90% to retain the best balance of image quality and file size. Ideal file size would be 100KB to 250KB, the smaller the better. Huge files will consume your bandwidth as well as make your website slow to load for your website visitors.
Crop Your Images: Use the image crop tool to remove any undesired objects in the image and produce more impactful image compositions. Make sure to retain a consistent size and width-height aspect ratio throughout your website for a more uniform look. Eg: You can choose to have all your images of 1200px width. Keep all horizontal images as 1200px by 600px. Vertical images can be 1200px by 1600px.
Add Watermark: Images can serve as a good blog promotion tool. Place your website logo or web address in a non-intrusive manner on all images. This will help promote your blog’s brand even when someone copies your image. Do keep in mind not to ruin the image with huge watermarks that run across the images.
Naming the Image File: Don’t name your image files as image-20156.jpg. Include a more human readable image name, with multiple words separated by a dash. A good example for a file name would be Spinach-Salad-Chopping-Board.jpg, provided the image has spinach for salad on a chopping board. Try to be descriptive while naming all your images, but limit the number of words in the name to 1-5. Avoid huge file names. You can add a number at the end if you have multiple images of the same thing. A properly named image file becomes an asset that drives SEO organic, free traffic through search.
Note: You can also do some basic editing such as cropping, image resizing, rotating using the WordPress’ image editing option. You can find the link/button to edit images when you click on the edit option.
Adding Your Food Photos
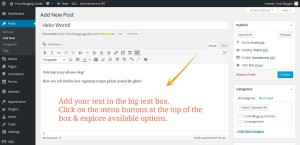
Now that you have your photos ready, it is time to add them to your recipe post or article on your food blog. Use the “Add Media” button above the post composition box to add images (and videos, PDF, etc). Given that food blogs are best as a visually rich website, add plenty of images to each article. Make sure to add large-size images that cover the entire width of your website design content area. Avoid using the full size image if a smaller size can cover the entire width of your content section.
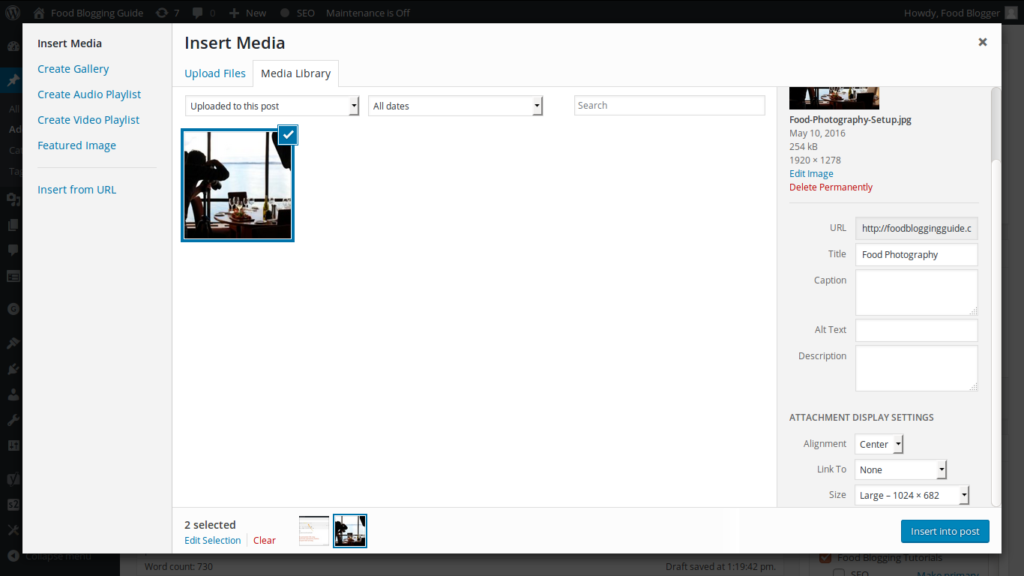
Add titles, alternative text or alt text, caption, etc to the image. In all cases, you should specify the image title properly. Adding the caption is optional. Look at the image above to see one of the ideal ways of adding images to WordPress websites. Adding the right title, file name, alt text and caption improves your website’s on-page SEO.
Set a Featured Image
Add one of the images (best one) uploaded to a blogpost as the featured image. It will be picked up by your WordPress theme for display on index pages or list of articles. The featured image is also shown on Facebook, Pinterest, etc when the blog is shared. If your WordPress theme shows the featured image on individual post pages prominently, you might want to use one image exclusively as featured image to avoid repetition.
Website Design & WordPress Installation Service: ➡ Need help creating your website or blog? We can help you pick the right web hosting, install WordPress blogging system optimally and help you launch your website. Connect with us for WordPress blog installation and web design services.