Once the WordPress blog has been installed and the most basic customization done, it is time to make some advanced customizations to our food blog. Here we will learn about the customizations to make our WordPress website look good by changing the WordPress theme, adding custom header image and include our custom style using CSS (cascading stylesheet) rules.
Change the design/theme of the WordPress blog
All new WordPress sites have the default theme activated. Our website doesn’t really look the best with the plain black-and-white theme without any header. Let’s change the theme to make our site more attractive to suite our website’s focus and niche.
- Explore for free WordPress themes at http://wordpress.org/themes/. If you don’t mind spending $50 or so, you can also visit Themeforest.com, Studiopress.com & other popular WordPress theme marketplaces.
- Once you have zeroed-in on the design/theme, log in to the WordPress Dashboard of your website.
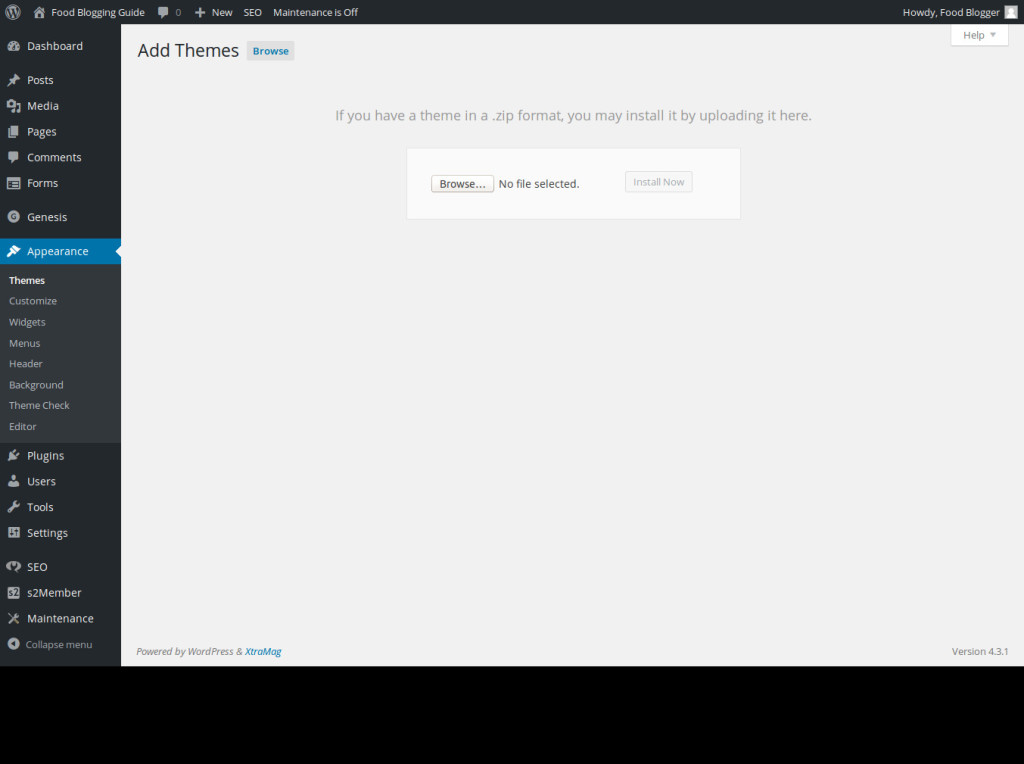
- Go to the Appearance →Themes page via the Navigation menu in the sidebar. This page shows the themes already installed and available for use.
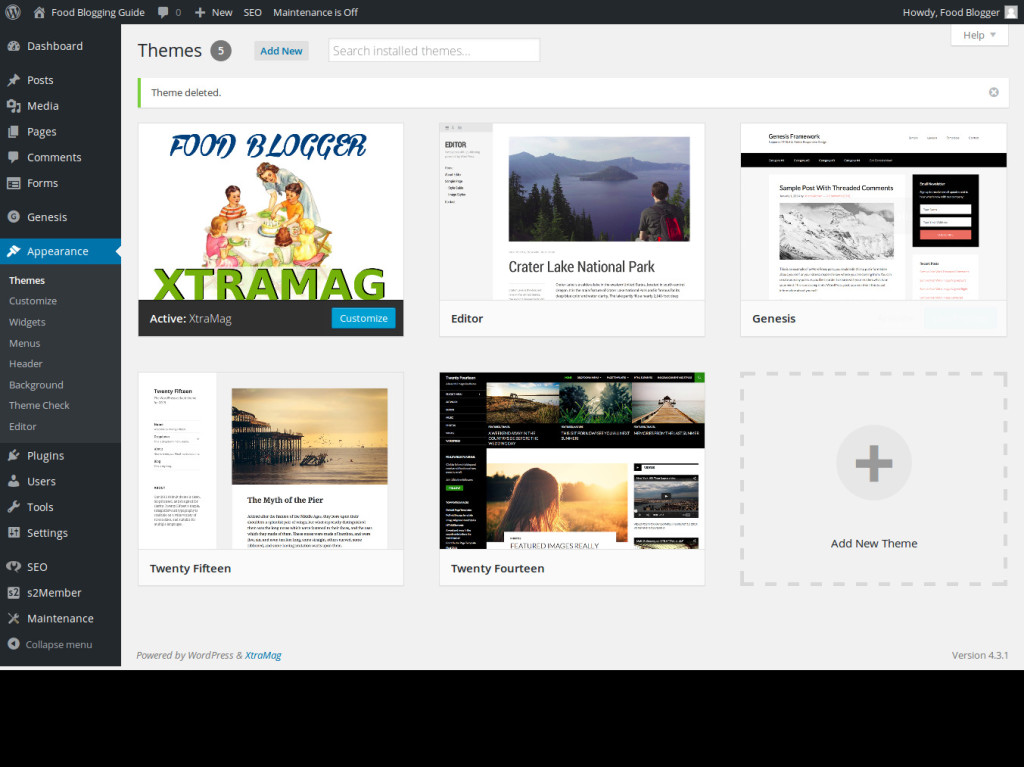
- Click on the Add New link at the top. You will be taken to the page from where you can explore free WordPress themes that are available at WordPress.org. Preview any theme from here and then install if you like it.
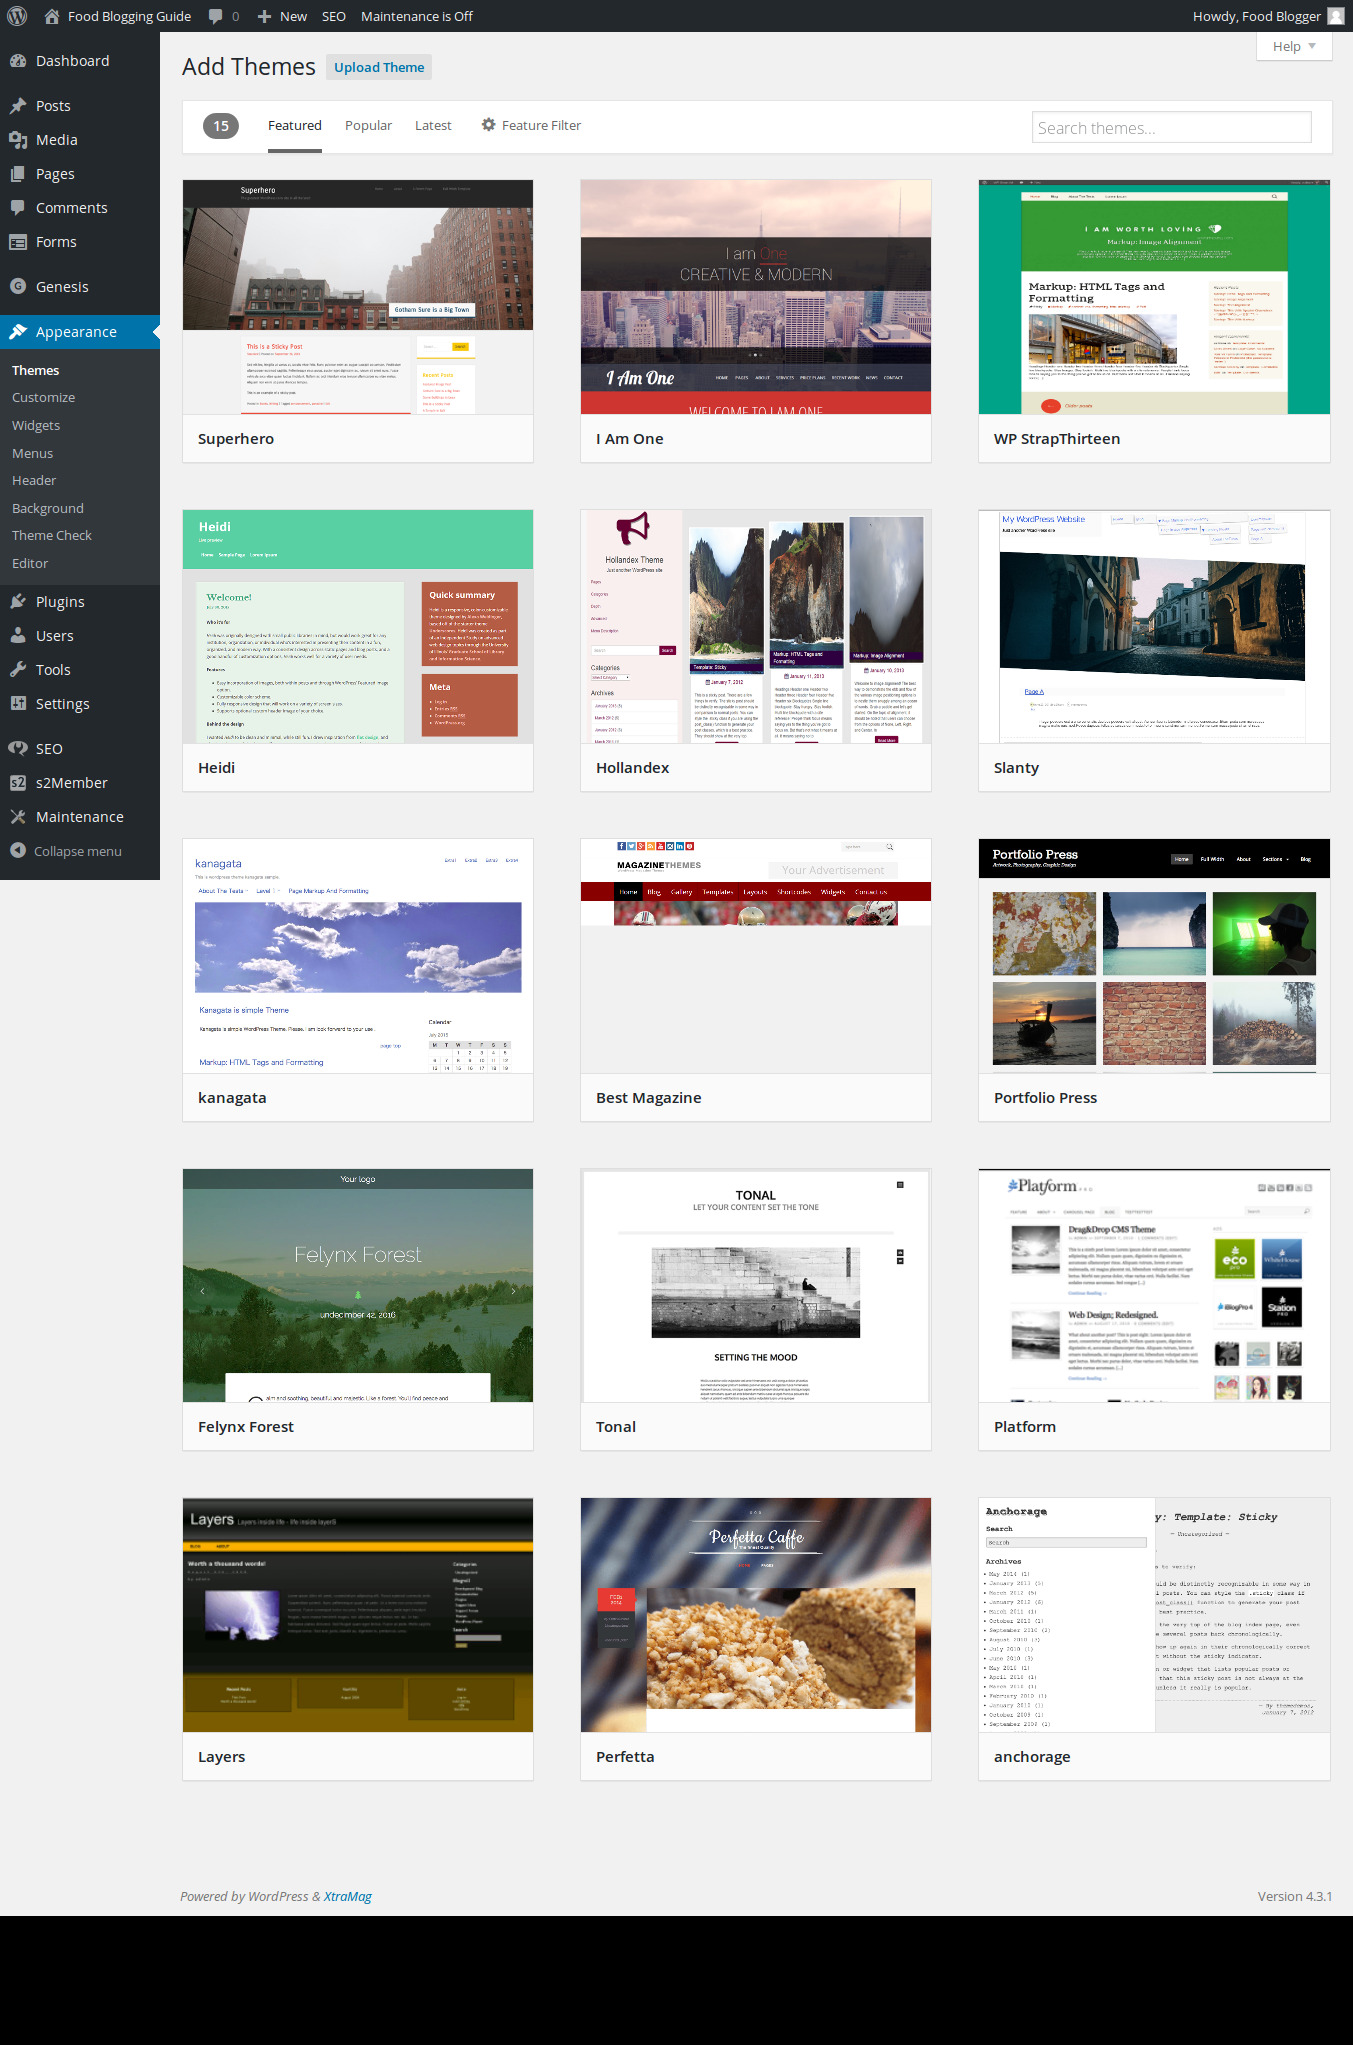
- If you have purchased a theme or downloaded it from any other website, you can click on the “Upload Theme” link to upload the theme available in the ZIP archive format (as a .zip file). Upload and install the theme.
- Once you have installed the theme, you can immediately “Activate the Theme” or activate it later from the list of installed themes at the Appearance →Themes page.
- You can also change the theme via the Appearance →Customize page using the live editor.
Customize the design of the WordPress blog
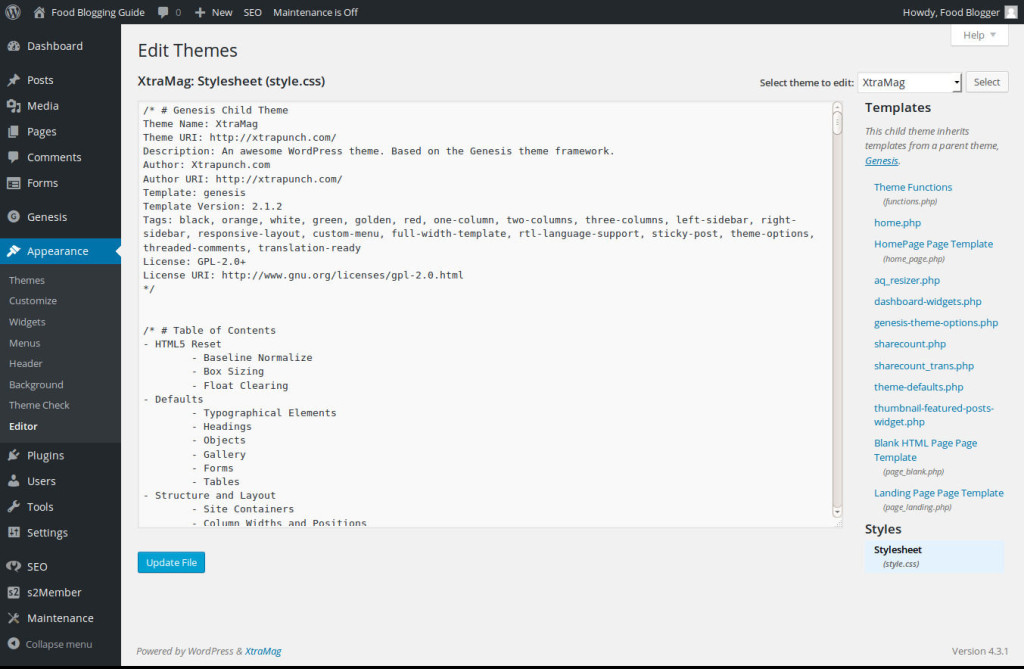
If you know HTML/CSS, you can make changes to the design of any theme by editing the theme template files. All the style rules are generally saved in style.css file in the theme folder.
- Go to the Appearance →Editor page via the Navigation menu in the sidebar.
- Choose the desired theme for editing from the drop-down menu on the page. By default, it shows the style.css file of the active theme.
- Make the desired changes and save the file.
Add a custom header or logo in WordPress
With some basic skills with Photoshop or Gimp or any other image editing software, you can easily create a header or logo for your website. If the theme supports it, you can easily add header/logo to the website.
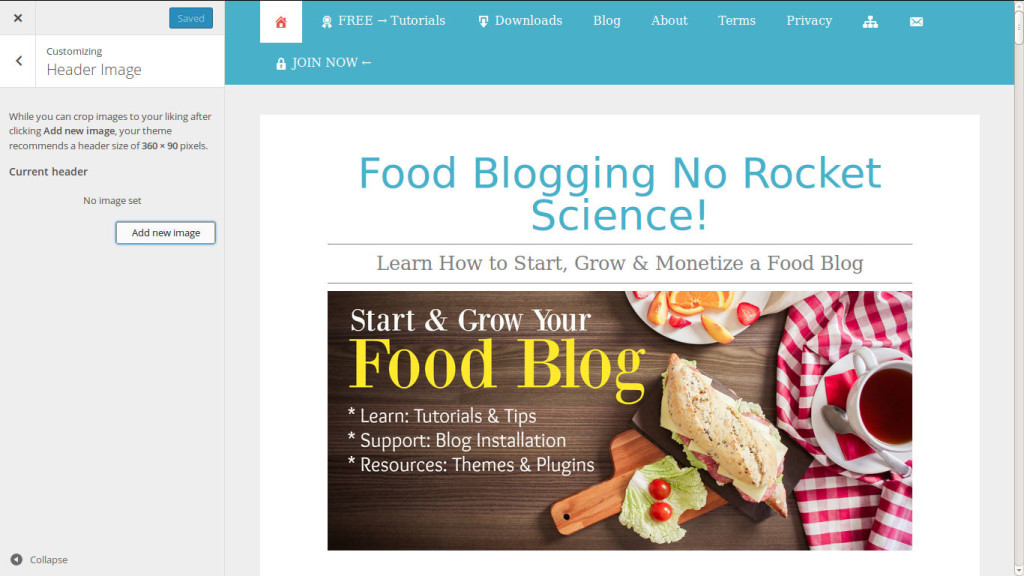
- Go to the Appearance →Header page via the Navigation menu in the sidebar.
- You will be taken to the Customizer’s header section. Check the image size supported by the theme.
- Create an image for use as header or logo in the specified size. Supported image formats are JPEG, GIF & PNG.
- Upload the header/logo image from this page and click on the “Save” button at the top of the side panel.
- If you upload multiple images, you can rotate the images as header of your site.
Website Design & WordPress Installation Service: ➡ Need help creating your website or blog? We can help you pick the right web hosting, install WordPress blogging system optimally and help you launch your website. Connect with us for WordPress blog installation and web design services.