Do you want to start a food blog, but don’t know how to go about creating a food blog? Here is a quick and easy guide to create your food blog in just about 30 minutes with self-hosted WordPress.
Updated for 2025 & Beyond: How to Start Food Blog in 2025?
Let me show you how to start a food blog from scratch and make it a success. It’s no good to just create a food blog and fail with zero income. I will help you create an awesome food blog (or a food critic or restaurant review blog) from scratch, with limited investment, and turn it into a successful blog that earns money for you. As a professional food blogger, you have to make money from food blogging.
Need Help With Blog?
WordPress Blog Website Installation Service
Don’t want to deal with all the technicalities of web hosting, domains and installing a blog platform? If you need help creating your website or blog, we can pick the right web hosting, install WordPress blogging system optimally and help you launch your website. Connect with us for WordPress installation, web design, and website maintenance services.
Step by Step Guide to Create a Food Blog
In this easy food blog guide, you will have step-by-step instructions on how to create your first food blog using WordPress in just few minutes and start blogging. It will take just about 30 minutes to have a pro-looking food blog ready. Let’s get started.
1) Register Your Domain Name
A domain name is the website address used to identify and reach the website. It’s the address that you type in the web browser to visit the website.
For this website, the domain name is FoodBloggingGuide.com.
The domain name is the most important part of any website as it serves as the identity.
When you want to start a food blog or website, you will need to register a domain name for it. A domain name is a unique name that is assigned to one website and remains with its registrants as long as they keep paying for the yearly renewal fees.
There are multiple TLD or the part at the end of a domain name. For instance, the TLD in FoodBloggingGuide.com is .com. There are numerous TLDs such as .com, .net, .org, .us, .in, .blog, .online, etc.
It’s advisable that you register any available domain with .com or the TLD of your country when targeting local readers.
Here’s a detailed guide to registering the right domain name for your food blog. Once you have the domain name, the next thing required for starting your own food blog is web hosting space.
2) Get Web Hosting
Purchase any good shared web hosting plan. You can buy from Amazon Web Services (AWS), Google Cloud, KnownHost, Hostinger or any decent hosting company. Before you buy the hosting, try an online search to discover the best hosting discount coupon for your selected company.
Recommended: Always register your domain name with a dedicated domain registrar such as Godaddy, NameCheap, and NameSilo. Why? It helps you keep full control of the domain even if you run into trouble with your hosting company.
Cheap web hosting services generally provide average performance for websites, but it should be sufficient for beginners. When you are just starting, their service should be good enough for you. Don’t register your domain name with the hosting company. You have to manage some extra steps, but having your domain name registered with a dedicated registrar is better. When you need to change your web hosting company, you don’t have to worry about getting out.
Select your shared hosting plan that meets your requirements. If you are 100% sure that you won’t need more than one website, choose the basic plan. When you want to start more than one website or are unsure about it, pick the plan that allows you to host multiple websites or blogs.
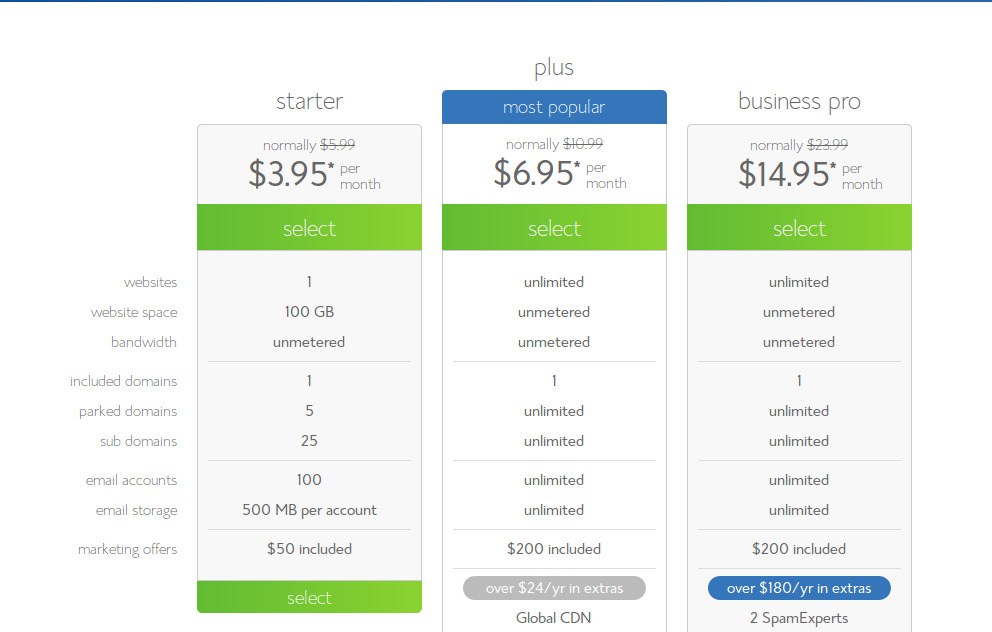
When buying web hosting, you should check that the hosting company provides cPanel for managing the hosting by its users, or it’s own hosting control dashboard is easy and intuitive to use. For example, Hostinger uses its own system (hPanel) for hosting dashboard, which is equally easy and intuitive to use.
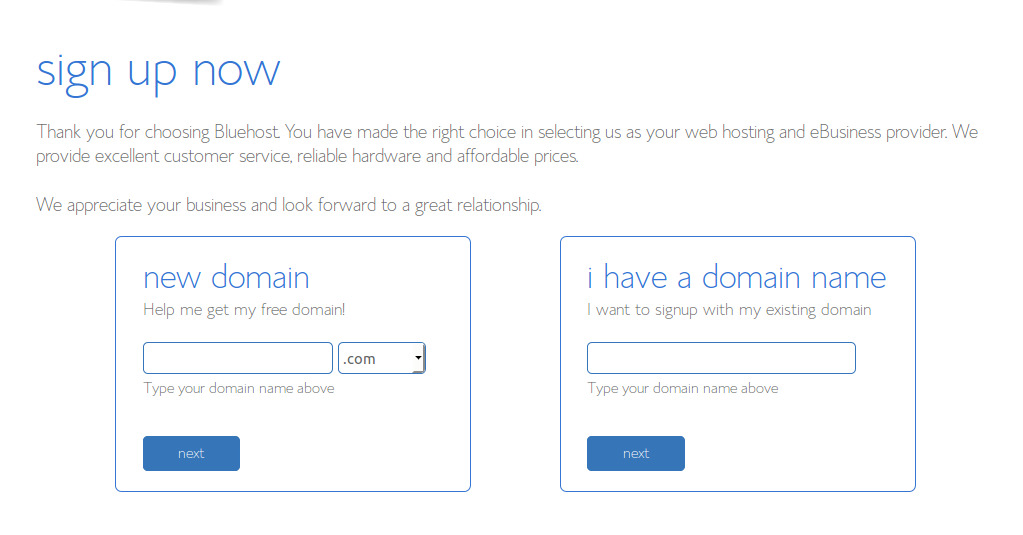
Do you have a domain name registered? If you already own a domain name for your blog, type your existing domain in the other box — “I Have a Domain Name” — and then click “next”. Do not use this box if you haven’t got this domain already registered and paid for the domain registration! Be warned, you will have to change the Name Server of your domain if you are going to use a domain that you already own.
Installing the WordPress blog system is pretty easy. Most hosting companies provide an installation wizard for the WordPress content management system, making it even easier. You can literally get your WordPress blog website ready with just one click.
When you complete the hosting purchase, your web hosting account is setup (in a few minutes) and you receive the welcome email with your hosting details, cpanel (or any hosting dashboard) login and password, name server information, etc.
Here’s the entire WordPress blog installation process with Bluehost. Continue to read the text detailed steps and process below.
3) Connect Domain With Web Hosting
After you buy web hosting, you need to update your domain and point it to your website hosting space.
A domain name has bits of information that guides visitors to the correct destination where website files and data is hosted. It’s done through something call Name Server.
A name server is a dedicated web server (computer) connected to the internet and used as an address book. The name server of your domain name stores DNS zone records (Domain Name Server zone records). The common DNS records are A name records, CNAME records, MX records, and TXT records.
When you buy web hosting, you will get a set of name server entries (two or more) for your web hosting space. Eg: ns1.example.com, ns2.example.com
These name servers are managed by your hosting company, and these have already been populated with the correct DNS records for your new website that you are going to host there.
Simply log in to the your domain registrar’s dashboard to manage your domains. Locate the domain that you want to host, and click on the name server option. Replace the existing name server records with the ones provided by your hosting company. Save and wait for the domain name servers to get propagated (spread) across the world. It can take a few minutes to a couple of days.
Now, your domain is pointing to your web hosting space. You are ready to install your blog with WordPress.
4) Install WordPress on Hosting
After your domain is pointing to the hosting space, it’s time to install your WordPress blog.
Many hosting companies have the option to quickly (and with some known drawbacks) install WordPress using the cPanel’s installation wizard or have their own installation systems such as Hostinger and Bluehost. You can locate the installation wizard in the hosting dashboard. Follow the steps to install WordPress on your blog website. Select any basic appearance design theme and proceed. WordPress blogging platform will get installed on your site.
Make sure that you use an active email address and strong password.
How to Manually Install WordPress Using cPanel
- Download WordPress
- Go to WordPress.org and download the latest WordPress ZIP file.
- Upload WordPress Files
- Log in to cPanel and open File Manager.
- Navigate to the public_html folder (or a subfolder for your site).
- Upload the WordPress ZIP file and extract its contents.
- Set Up a Database
- In cPanel, click MySQL Database Wizard.
- Create a new database and user. Assign full privileges, and save the database name, username, and password for later.
- Run the Installer
- In your browser, go to your domain (e.g.,
yourblogaddress.com). - Follow the setup steps: select your language, add your site details, choose a username for the admin account, add your password, enter the database server location (unless your web hosting company says otherwise, it is “localhost”), database name, database user and database password. The wizard will connect with the database, install WordPress and create an admin account.
- In your browser, go to your domain (e.g.,
- Log In and Start Building
- Access your WordPress dashboard at
yourdomain.com/wp-admin. - Customize your site with themes, plugins, and content.
- Access your WordPress dashboard at
Congratulations! You just created a blog with WordPress.
Now, log in to you new WordPress blog at YourDomainName.com/wp-admin/ and tweak with the Settings, Appearance, Themes options in the WordPress dashboard menu. Make it your own. Here are a few things to do with your brand-new blog.
- Log in to WordPress dashboard
- Add a tag line for your blog in the Settings page.
- Choose the right Permalink structure in the Settings -> Permalinks page.
- Delete the dummy post & page in the Post & Page sections.
- Add a nice “About” page for your blog via Pages -> Add New.
- Change the look of the blog, go to the Appearance -> Themes page.
- Add plugins for SEO, Contact form, etc.
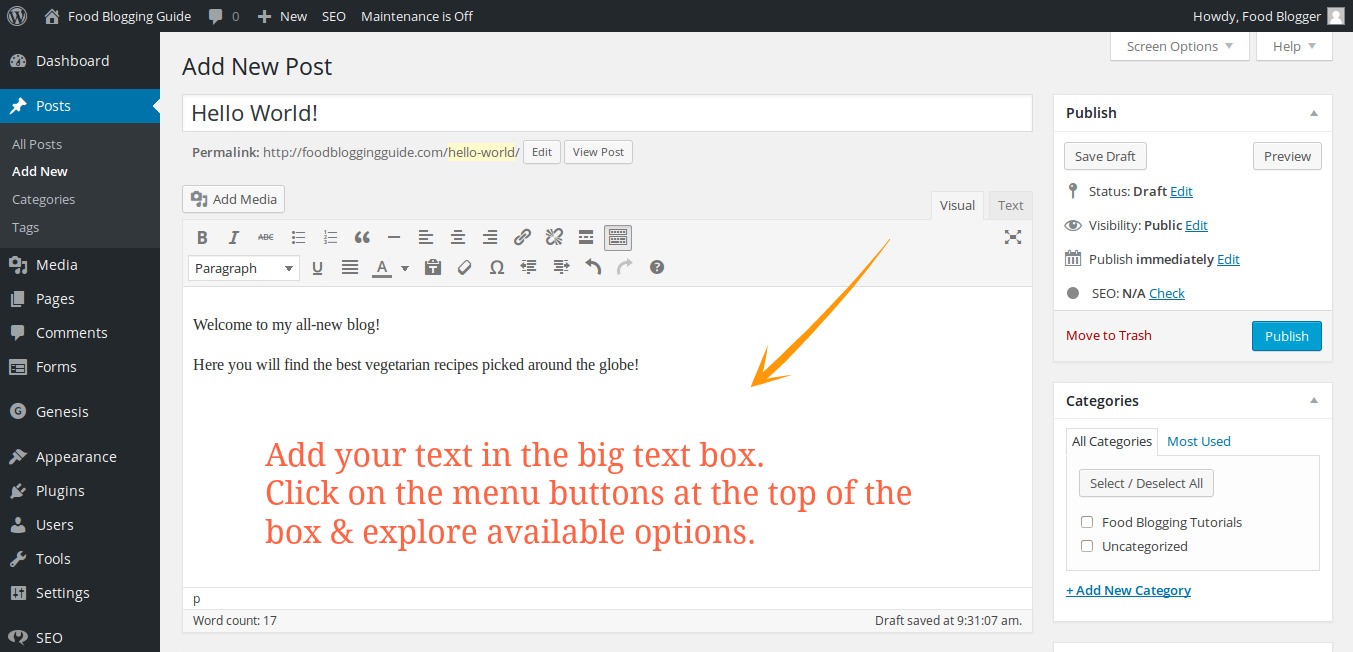
- Write your first blog post via Dashboard -> Posts -> Add New.
Continue Learning
Explore food blogging tutorials on this website to learn more about how to start a successful food blog and make money with food blogging as your business.
Website Design & WordPress Installation Service: ➡ Need help creating your website or blog? We can help you pick the right web hosting, install WordPress blogging system optimally and help you launch your website. Connect with us for WordPress blog installation and web design services.
