Getting your branded email address is easy & 100% free with Bluehost. You can get a professional email address using your hosting account — without having to pay for email services or subscribe to GSuite.
For using our custom email address with the domain that we registered, you must first configure the domain’s name server to point to the web hosting space if it is not doing so already. Once, the domain & web hosting is configured, proceed.
- Create your email address(es)
- Set up email forwarding to receive mails on your primary email
- Configure the email with clients such as Outlook, Thunderbird or mobile emails
Create email addresses
To create and use your own branded email address in Bluehost, please follow these steps.
- Log in to your web hosting cPanel, which can be accessed via http://YourDomainName.com/cpanel (where YourDomainName.com represents your domain) or https://login.bluehost.com. You will have to use the login details received in web hosting confirmation/welcome email. You can also login via the Bluehost website’s login panel, and click on the Advanced link in the right side panel to open cPanel. Don’t use the email and office link in the right side panel, which is now primarily used to promote GSuite services.
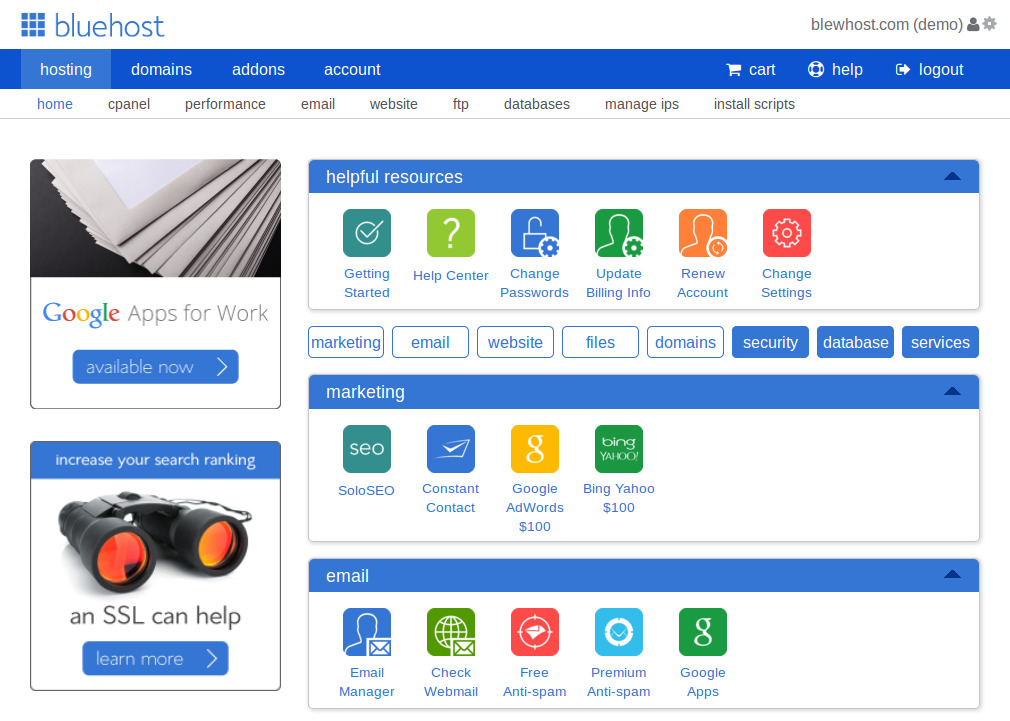
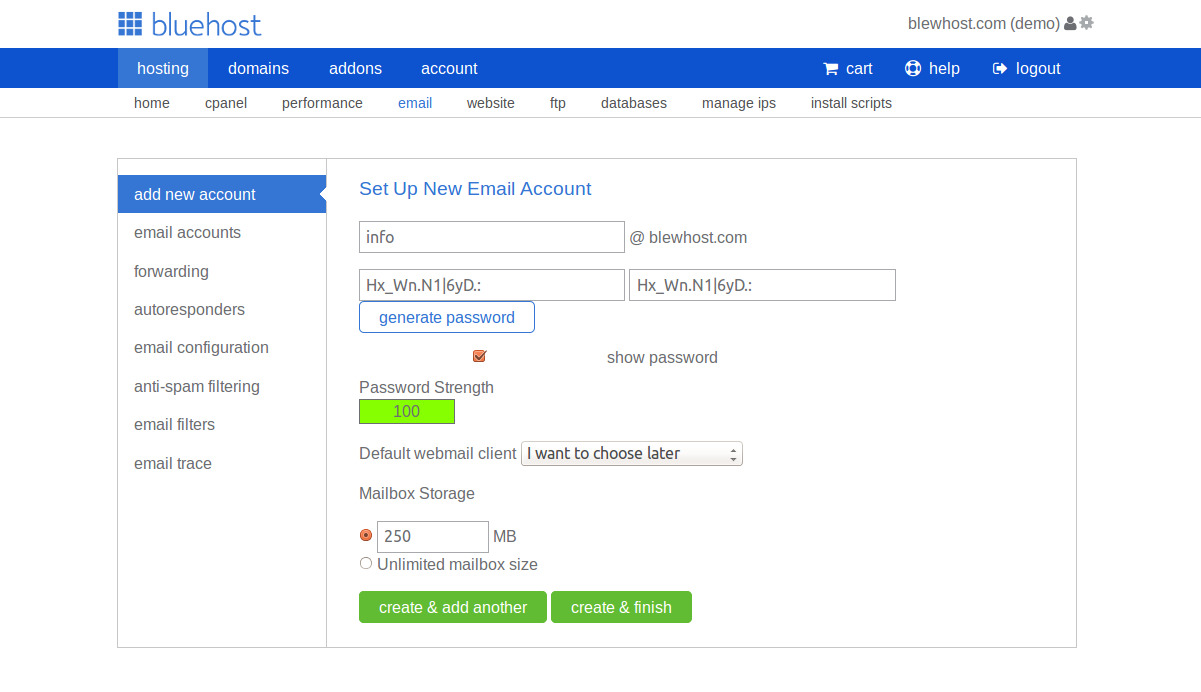
- Locate the Email Manager icon and click on it. In the resulting page, choose the desired email address by typing the first part of the email address and selecting the right domain name. Make sure to choose a strong password or generate using the tool. Save the email password safely.
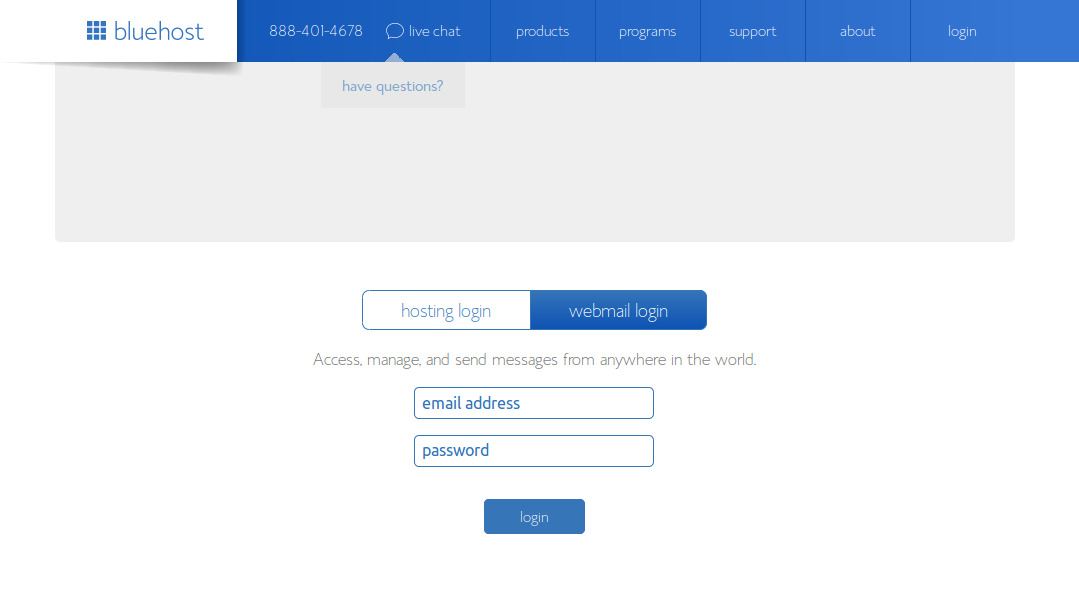
- You can check your email at http://YourDomainName.com/webmail or https://login.bluehost.com (choose the webmail login tab) using the email and password that you created. Also, access your email using the cPanel -> Email -> Check Webmail.
Forward emails to your primary address
If you have to check the emails received on this new address daily, it might become cumbersome with multiple websites. One of the solutions is to forward all emails received on the new address to your primary address.
- Log in to your web hosting cPanel. In the Mail section, click on the Email Manager icon.
- On the next page, you will find a button with “Add Forwarder” link.
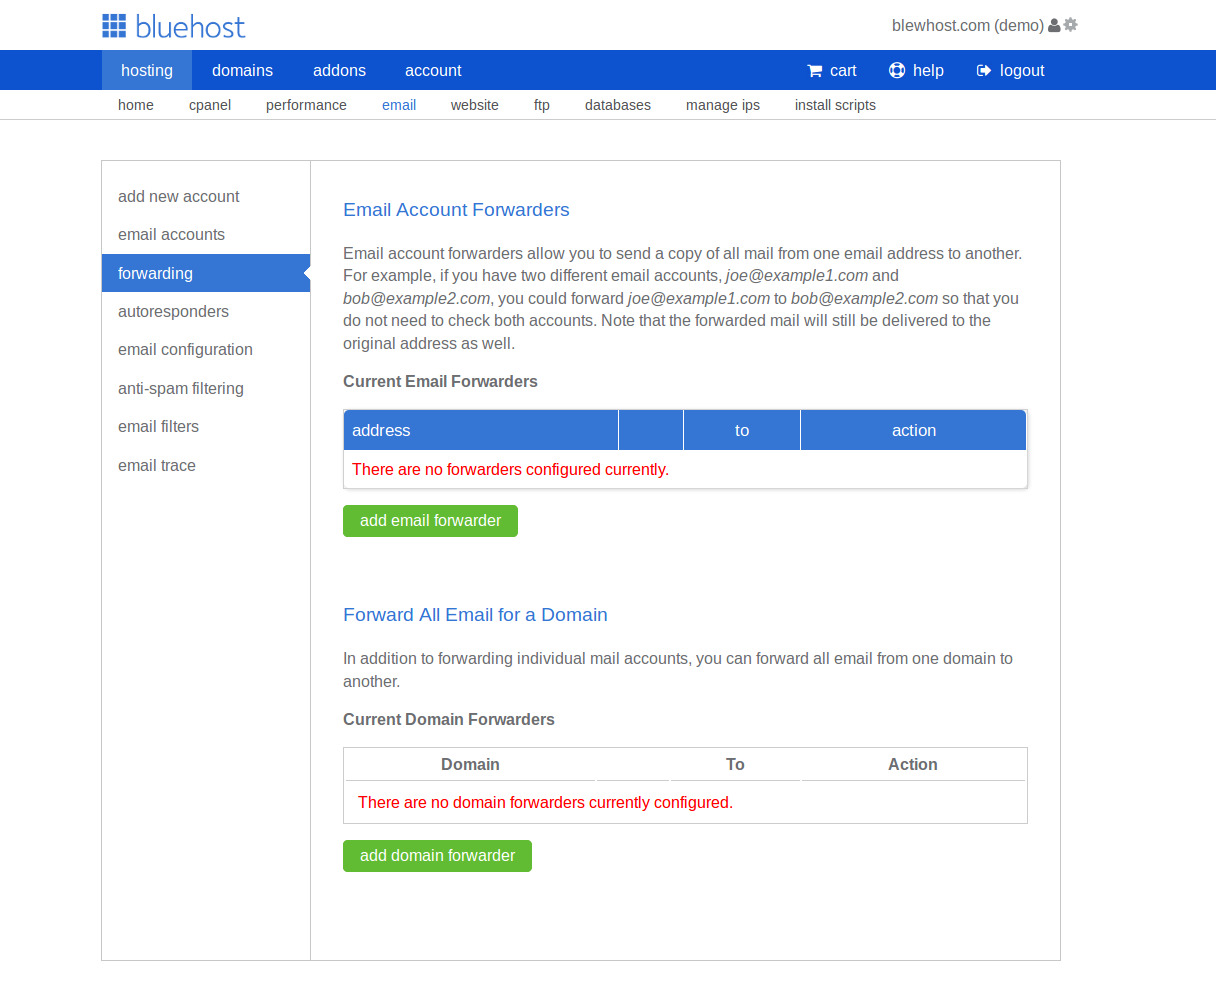
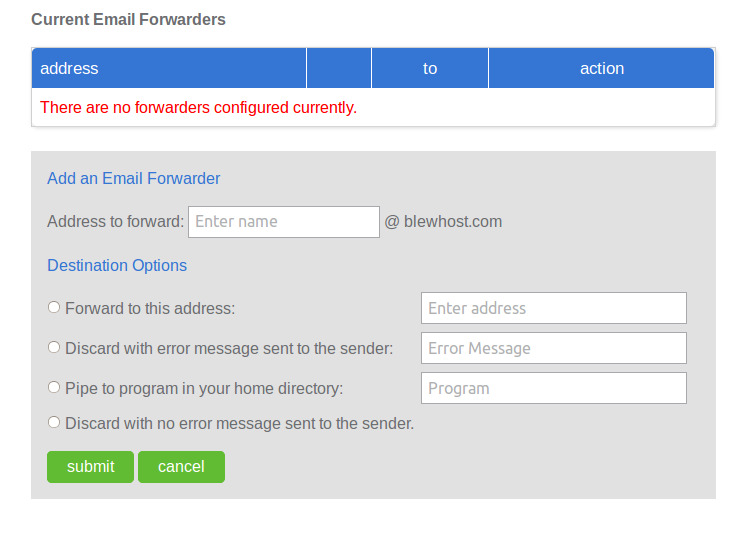
- Click on the Add Email Forwarder button and add the email address along with the primary email where all mails should be sent.
Important: Forwarding an email address to your primary email address leaves a copy of the email on the server. This means your emails keep consuming up more space with time. You will have to manually delete the emails by logging in to the account using the WebMail option or via cPanel. To avoid this issue, you can use email clients or web platforms such as Gmail to fetch mails via POP or IMAP protocols.
Configure email clients to access mails
You can use email clients such as Outlook, Thunderbird or your smartphone’s email client to directly check your emails on the new email with your domain.
Go to your hosting cPanel. Click on the Email Manager icon in the Mail section. You can find the details for setting up email clients in the email list, under the Email Configuration link in the sidebar of the email management page. Click on the Configure Email link to get all the necessary information. Use it to configure the email client of your choice. You can also connect your Gmail account to your branded domain email.
Website Design & WordPress Installation Service: ➡ Need help creating your website or blog? We can help you pick the right web hosting, install WordPress blogging system optimally and help you launch your website. Connect with us for WordPress blog installation and web design services.